 +
+
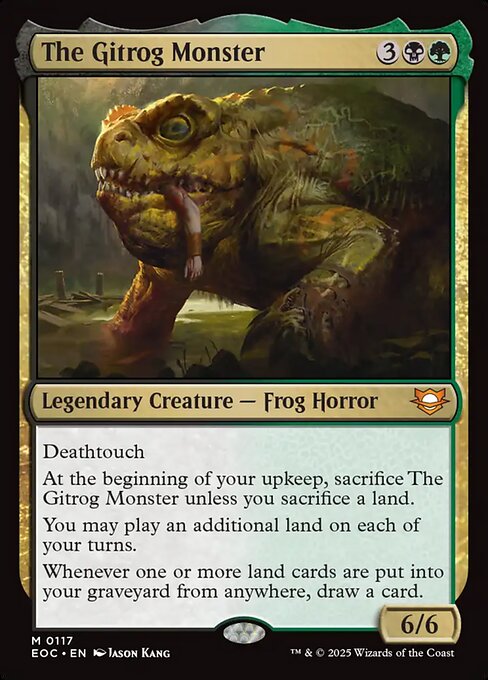
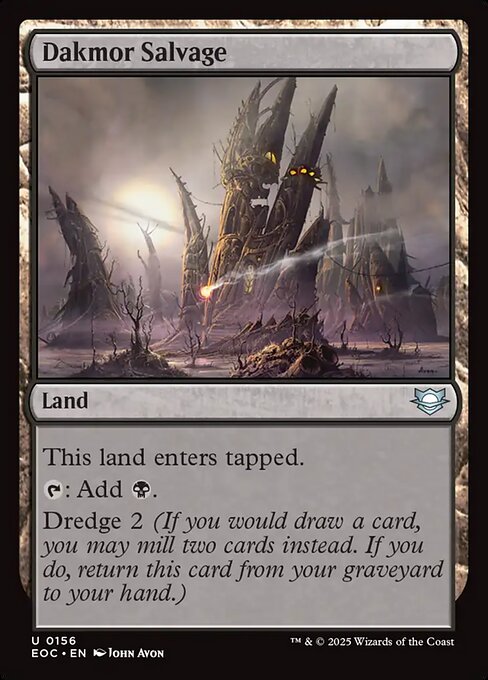
Dakmor Salvage + The Gitrog Monster Combos
20 known combos featuring both cards in Commander
Infinite self-mill
Near-infinite self-discard triggers
Near-infinite ETB
Near-infinite landfall triggers
Near-infinite card draw
Combo 1
Results:
Infinite self-mill
· Near-infinite self-discard triggers
Steps
- Proceed to your cleanup step, and discard Dakmor Salvage and any other card(s) as needed down to your maximum hand size.
- The Gitrog Monster triggers, causing you to mill two cards and return Dakmor Salvage from your graveyard to your hand.
- Repeat, as you will still be over your maximum hand size and will be required to discard again.
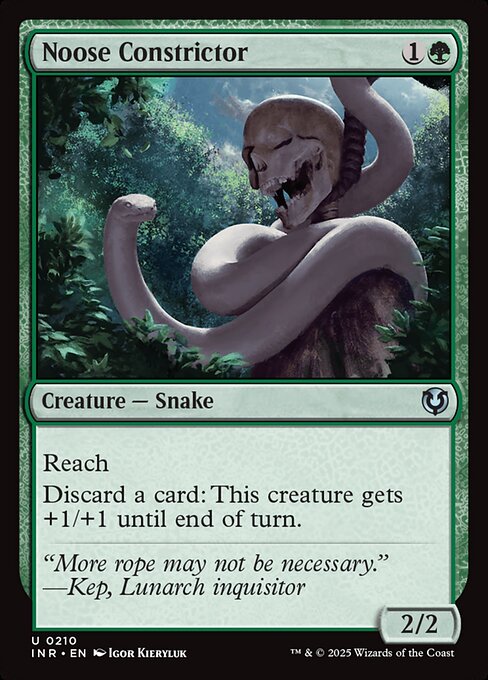
Combo 2 with Noose Constrictor
Also requires:
 Noose Constrictor
Noose Constrictor
Results:
Infinite self-mill
· Near-infinitely large creature until end of turn
· Near-infinite self-discard triggers
Show steps
- Activate Noose Constrictor by discarding Dakmor Salvage.
- The Gitrog Monster's third ability triggers, causing you to mill two cards and return Dakmor Salvage from your graveyard to your hand.
- Resolve the Noose Constrictor ability, giving it +1/+1 until end of turn.
- Repeat.
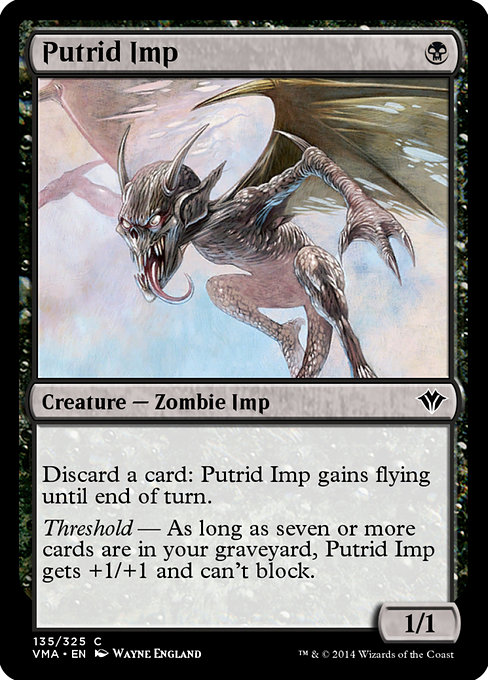
Combo 3 with Putrid Imp
Also requires:
 Putrid Imp
Putrid Imp
Results:
Infinite self-mill
· Near-infinite self-discard triggers
Show steps
- Activate Putrid Imp by discarding Dakmor Salvage.
- The Gitrog Monster's third ability triggers, causing you to mill two cards and return Dakmor Salvage from your graveyard to your hand.
- Resolve the Putrid Imp ability, giving it flying until end of turn.
- Repeat.
Combo 4 with Oblivion Crown
Also requires:
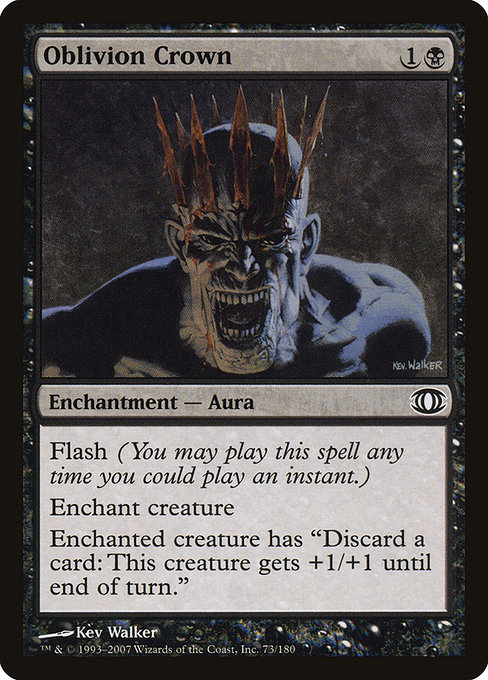 Oblivion Crown
Oblivion Crown
Results:
Infinite self-mill
· Near-infinitely large creature until end of turn
· Near-infinite self-discard triggers
Show steps
- Activate the creature with Oblivion Crown attached by discarding Dakmor Salvage.
- The Gitrog Monster's third ability triggers, causing you to mill two cards and return Dakmor Salvage from your graveyard to your hand.
- Resolve the ability from step 1, giving the creature +1/+1 until end of turn.
- Repeat.
Combo 5 with Wild Mongrel
Also requires:
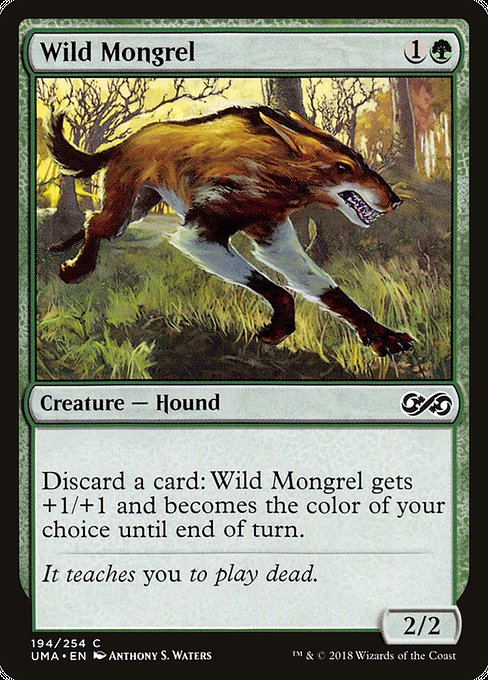 Wild Mongrel
Wild Mongrel
Results:
Infinite self-mill
· Near-infinitely large creature until end of turn
· Near-infinite self-discard triggers
Show steps
- Activate Wild Mongrel by discarding Dakmor Salvage.
- The Gitrog Monster's third ability triggers, causing you to mill two cards and return Dakmor Salvage from your graveyard to your hand.
- Resolve the Wild Mongrel ability, giving it +1/+1 until end of turn.
- Repeat.
Combo 6 with Skirge Familiar
Also requires:
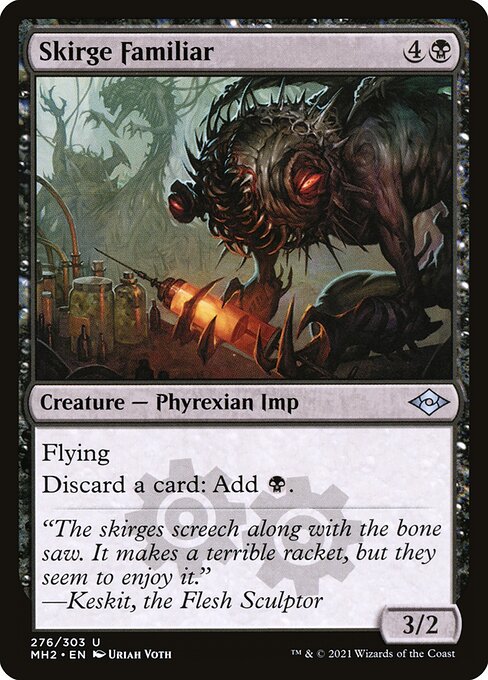 Skirge Familiar
Skirge Familiar
Results:
Infinite self-mill
· Near-infinite black mana
· Near-infinite self-discard triggers
Show steps
- Activate Skirge Familiar by discarding Dakmor Salvage, adding {B}.
- The Gitrog Monster's third ability triggers, causing you to mill two cards and return Dakmor Salvage from your graveyard to your hand.
- Repeat.
Combo 7 with Ayula's Influence
Also requires:
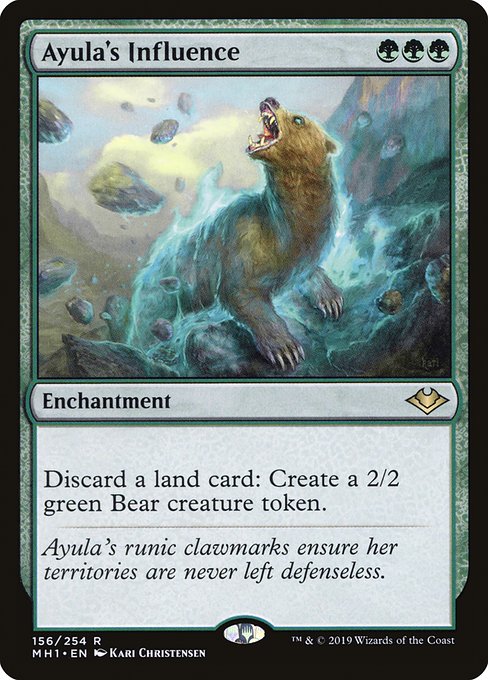 Ayula's Influence
Ayula's Influence
Results:
Infinite self-mill
· Near-infinite creature tokens
· Near-infinite ETB
· Near-infinite self-discard triggers
Show steps
- Activate Ayula's Influence by discarding Dakmor Salvage.
- Gitrog triggers, causing you to mill two cards and return Dakmor Salvage from your graveyard to your hand.
- Resolve the Ayula's Influence ability, creating a 2/2 Bear creature token.
- Repeat.
Combo 8 with Kodama of the East Tree + Zuran Orb + Scute Swarm
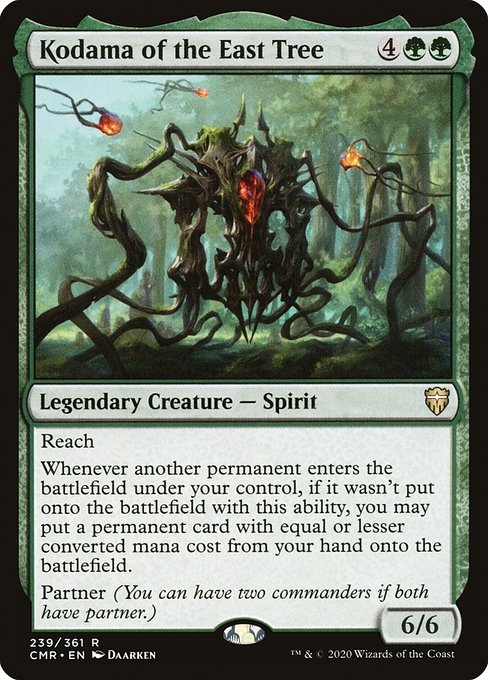
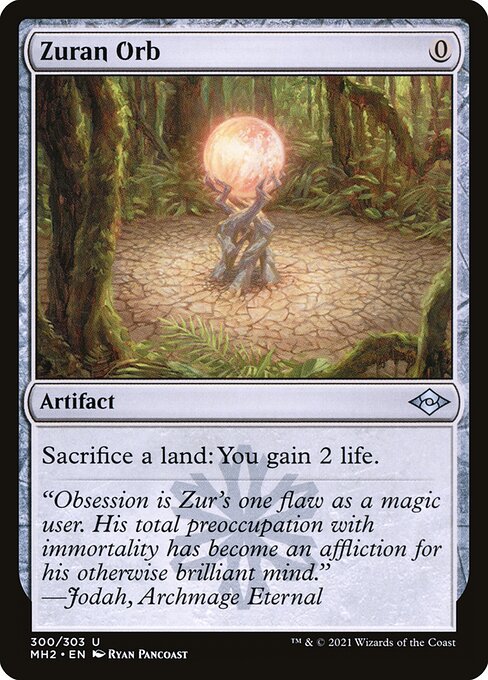
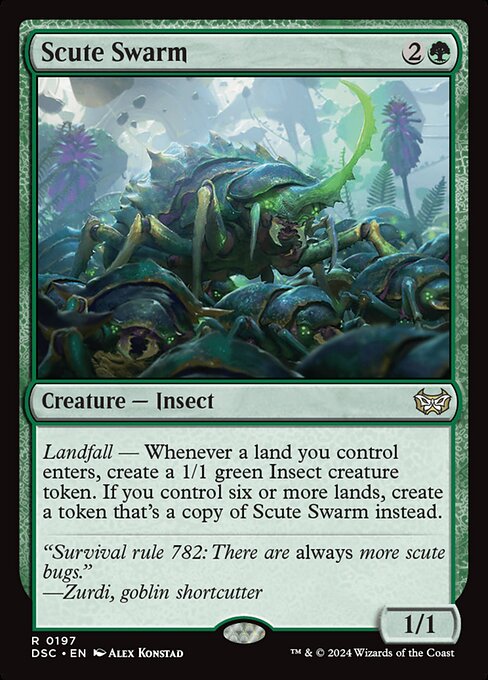
Results:
Near-infinite lifegain
· Near-infinite lifegain triggers
· Near-infinite ETB
· Near-infinite landfall triggers
· Near-infinite creature tokens
· Near-infinite card draw
· Near-infinite draw triggers
· Infinite self-mill
· Near-infinite self-discard triggers
Show steps
- Play Dakmor Salvage.
- When Dakmor Salvage enters, Scute Swarm and Kodama trigger.
- Resolve the Kodama trigger, choosing to put nothing onto the battlefield.
- Holding priority, activate Zuran Orb by sacrificing Dakmor Salvage.
- The Gitrog Monster's second ability triggers, causing you to mill two cards and return Dakmor Salvage from your graveyard to your hand.
- If a land was milled this way, The Gitrog Monster's second ability triggers, causing you to draw a card.
- Resolve the Zuran Orb ability
- Resolve the Scute Swarm trigger, creating a token.
- When the token enters the battlefield, Kodama triggers, putting Dakmor Salvage from your hand onto the battlefield.
- When Dakmor Salvage enters the battlefield, Scute Swarm triggers.
- Repeat from step 4.
Combo 9 with Kodama of the East Tree + Zuran Orb + Tireless Provisioner
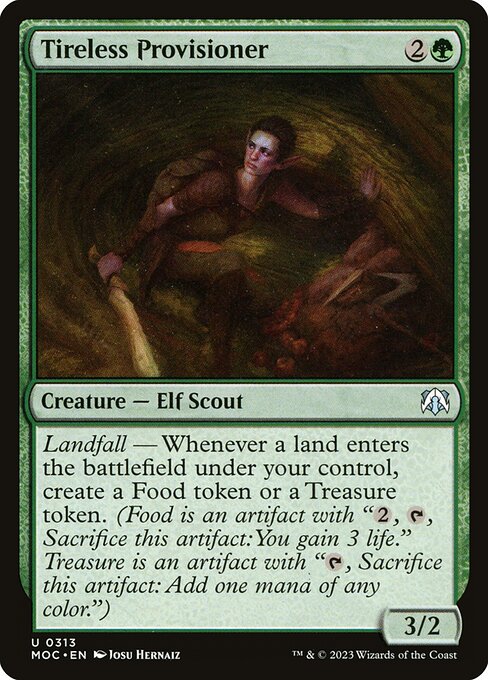
Results:
Near-infinite lifegain
· Near-infinite lifegain triggers
· Near-infinite ETB
· Near-infinite landfall triggers
· Near-infinite card draw
· Near-infinite draw triggers
· Near-infinite colored mana
· Near-infinite Treasure tokens
· Near-infinite Food tokens
· Infinite self-mill
· Near-infinite self-discard triggers
Show steps
- Play Dakmor Salvage.
- When Dakmor Salvage enters, Tireless Provisioner and Kodama trigger.
- Resolve the Kodama trigger, choosing to put nothing onto the battlefield.
- Holding priority, activate Zuran Orb by sacrificing Dakmor Salvage.
- The Gitrog Monster's second ability triggers, causing you to mill two cards and return Dakmor Salvage from your graveyard to your hand.
- If a land was milled this way, The Gitrog Monster's second ability triggers, causing you to draw a card.
- Resolve the Zuran Orb ability
- Resolve the Tireless Provisioner trigger, creating a token.
- When the token enters the battlefield, Kodama triggers, putting Dakmor Salvage from your hand onto the battlefield.
- When Dakmor Salvage enters the battlefield, Tireless Provisioner triggers.
- Repeat from step 4.
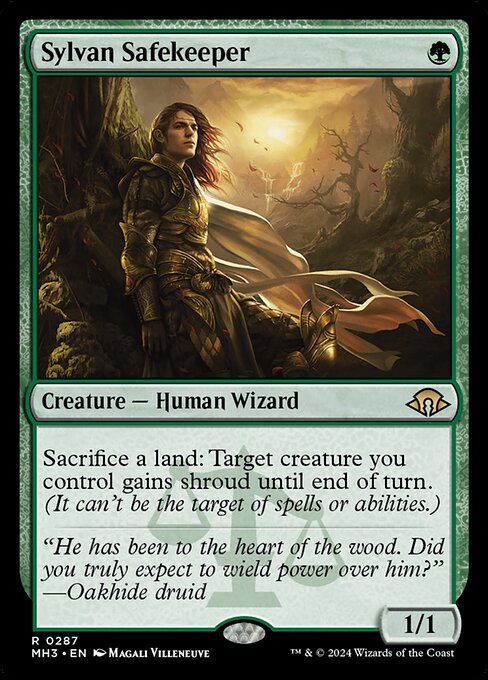
Combo 10 with Kodama of the East Tree + Tireless Provisioner + Sylvan Safekeeper
Results:
Near-infinite ETB
· Near-infinite landfall triggers
· Near-infinite card draw
· Near-infinite draw triggers
· Near-infinite colored mana
· Near-infinite Treasure tokens
· Near-infinite Food tokens
· Infinite self-mill
· Near-infinite self-discard triggers
Show steps
- Play Dakmor Salvage.
- When Dakmor Salvage enters, Tireless Provisioner and Kodama trigger.
- Resolve the Kodama trigger, choosing to put nothing onto the battlefield.
- Holding priority, activate Sylvan Safekeeper by sacrificing Dakmor Salvage.
- The Gitrog Monster's second ability triggers, causing you to mill two cards and return Dakmor Salvage from your graveyard to your hand.
- If a land was milled this way, The Gitrog Monster's second ability triggers, causing you to draw a card.
- Resolve the Sylvan Safekeeper ability
- Resolve the Tireless Provisioner trigger, creating a token.
- When the token enters the battlefield, Kodama triggers, putting Dakmor Salvage from your hand onto the battlefield.
- When Dakmor Salvage enters the battlefield, Tireless Provisioner triggers.
- Repeat from step 4.
Combo 11 with Kodama of the East Tree + Sylvan Safekeeper + Scute Swarm
Results:
Near-infinite ETB
· Near-infinite landfall triggers
· Near-infinite creature tokens
· Near-infinite card draw
· Near-infinite draw triggers
· Infinite self-mill
· Near-infinite self-discard triggers
Show steps
- Play Dakmor Salvage.
- When Dakmor Salvage enters, Scute Swarm and Kodama trigger.
- Resolve the Kodama trigger, choosing to put nothing onto the battlefield.
- Holding priority, activate Sylvan Safekeeper by sacrificing Dakmor Salvage.
- The Gitrog Monster's second ability triggers, causing you to mill two cards and return Dakmor Salvage from your graveyard to your hand.
- If a land was milled this way, The Gitrog Monster's second ability triggers, causing you to draw a card.
- Resolve the Sylvan Safekeeper ability
- Resolve the Scute Swarm trigger, creating a token.
- When the token enters the battlefield, Kodama triggers, putting Dakmor Salvage from your hand onto the battlefield.
- When Dakmor Salvage enters the battlefield, Scute Swarm triggers.
- Repeat from step 4.
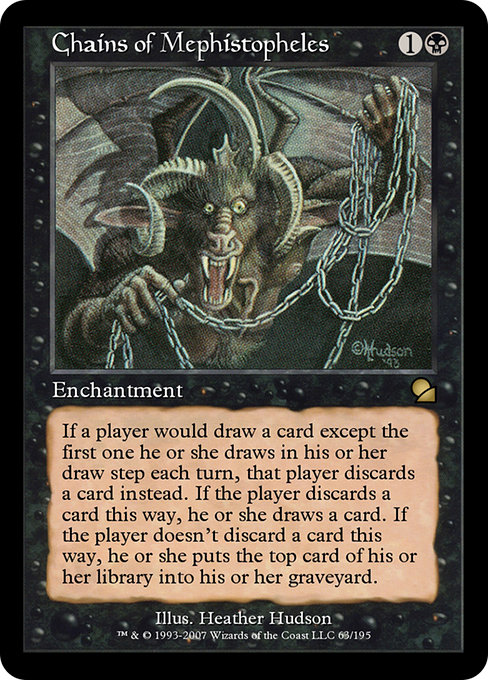
Combo 12 with Chains of Mephistopheles
Also requires:
 Chains of Mephistopheles
Chains of Mephistopheles
Results:
Infinite self-mill
· Near-infinite self-discard triggers
Show steps
- Attempt to draw a card, instead discarding Dakmor Salvage due to Chains of Mephistopheles, then causing you to mill two cards and return Dakmor Salvage from your graveyard to your hand due to Dakmor Salvage's dredge ability.
- The Gitrog Monster's third ability triggers, causing you to discard Dakmor Salvage due to Chains of Mephistopheles, then causing you to mill two cards and return Dakmor Salvage from your graveyard to your hand due to Dakmor Salvage's dredge ability.
- Repeat step 2.
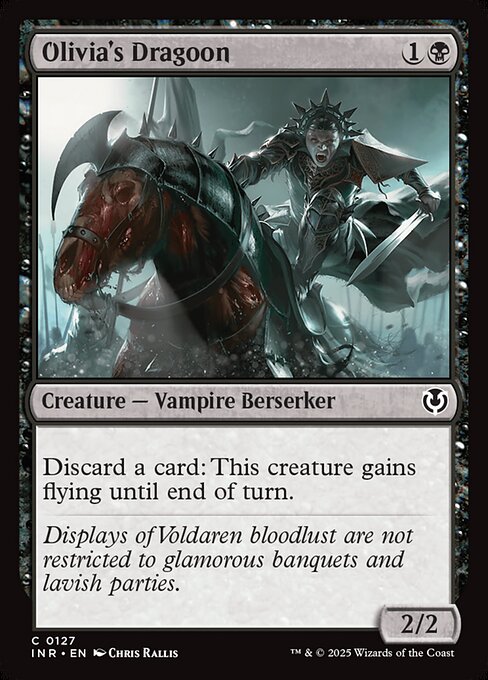
Combo 13 with Olivia's Dragoon
Also requires:
 Olivia's Dragoon
Olivia's Dragoon
Results:
Infinite self-mill
· Near-infinite self-discard triggers
Show steps
- Activate Olivia's Dragoon by discarding Dakmor Salvage.
- The Gitrog Monster's third ability triggers, causing you to mill two cards and return Dakmor Salvage from your graveyard to your hand.
- Resolve the Olivia's Dragoon ability, giving it flying until end of turn.
- Repeat.
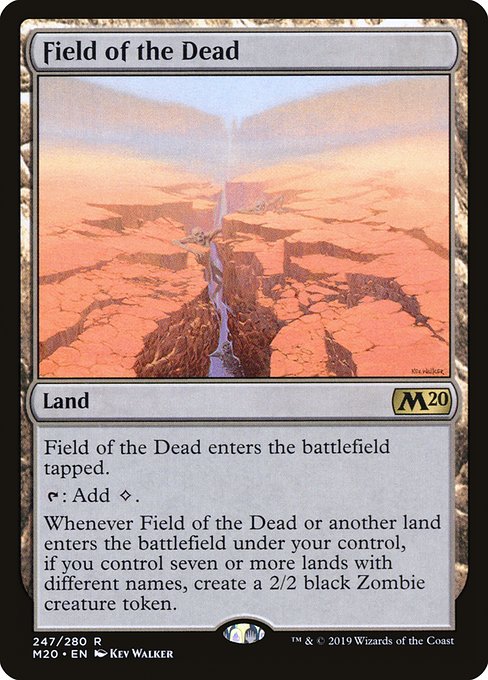
Combo 14 with Kodama of the East Tree + Zuran Orb + Field of the Dead
Results:
Near-infinite lifegain
· Near-infinite lifegain triggers
· Near-infinite ETB
· Near-infinite landfall triggers
· Near-infinite creature tokens
· Near-infinite card draw
· Near-infinite draw triggers
· Infinite self-mill
· Near-infinite self-discard triggers
Show steps
- Play Dakmor Salvage.
- When Dakmor Salvage enters, Field of the Dead and Kodama trigger.
- Resolve the Kodama trigger, choosing to put nothing onto the battlefield.
- Holding priority, activate Zuran Orb by sacrificing Dakmor Salvage.
- The Gitrog Monster's second ability triggers, causing you to mill two cards and return Dakmor Salvage from your graveyard to your hand.
- If a land was milled this way, The Gitrog Monster's second ability triggers, causing you to draw a card.
- Resolve the Zuran Orb ability
- Resolve the Field of the Dead trigger, creating a token.
- When the token enters the battlefield, Kodama triggers, putting Dakmor Salvage from your hand onto the battlefield.
- When Dakmor Salvage enters the battlefield, Field of the Dead triggers.
- Repeat from step 4.
Combo 15 with Kodama of the East Tree + Sylvan Safekeeper + Field of the Dead
Results:
Near-infinite ETB
· Near-infinite landfall triggers
· Near-infinite creature tokens
· Near-infinite card draw
· Near-infinite draw triggers
· Infinite self-mill
· Near-infinite self-discard triggers
Show steps
- Play Dakmor Salvage.
- When Dakmor Salvage enters, Field of the Dead and Kodama trigger.
- Resolve the Kodama trigger, choosing to put nothing onto the battlefield.
- Holding priority, activate Sylvan Safekeeper by sacrificing Dakmor Salvage.
- The Gitrog Monster's second ability triggers, causing you to mill two cards and return Dakmor Salvage from your graveyard to your hand.
- If a land was milled this way, The Gitrog Monster's second ability triggers, causing you to draw a card.
- Resolve the Sylvan Safekeeper ability
- Resolve the Field of the Dead trigger, creating a token.
- When the token enters the battlefield, Kodama triggers, putting Dakmor Salvage from your hand onto the battlefield.
- When Dakmor Salvage enters the battlefield, Field of the Dead triggers.
- Repeat from step 4.
Combo 16 with Borborygmos Enraged
Also requires:
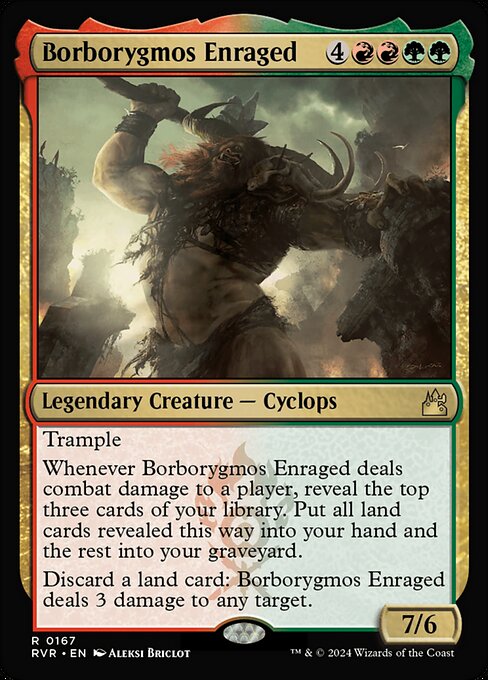 Borborygmos Enraged
Borborygmos Enraged
Results:
Infinite self-mill
· Near-infinite damage
· Near-infinite self-discard triggers
Show steps
- Activate Borborygmos Enraged by discarding Dakmor Salvage.
- The Gitrog Monster's third ability triggers, causing you to mill two cards and return Dakmor Salvage from your graveyard to your hand.
- Resolve the Borborygmos Enraged ability, dealing 3 damage to any target.
- Repeat.
Combo 17 with Kodama of the East Tree + Zuran Orb + Rampaging Baloths

Results:
Near-infinite lifegain
· Near-infinite lifegain triggers
· Near-infinite ETB
· Near-infinite landfall triggers
· Near-infinite creature tokens
· Near-infinite card draw
· Near-infinite draw triggers
· Infinite self-mill
· Near-infinite self-discard triggers
Show steps
- Play Dakmor Salvage.
- When Dakmor Salvage enters, Rampaging Baloths and Kodama trigger.
- Resolve the Kodama trigger, choosing to put nothing onto the battlefield.
- Holding priority, activate Zuran Orb by sacrificing Dakmor Salvage.
- The Gitrog Monster's second ability triggers, causing you to mill two cards and return Dakmor Salvage from your graveyard to your hand.
- If a land was milled this way, The Gitrog Monster's second ability triggers, causing you to draw a card.
- Resolve the Zuran Orb ability
- Resolve the Rampaging Baloths trigger, creating a token.
- When the token enters the battlefield, Kodama triggers, putting Dakmor Salvage from your hand onto the battlefield.
- When Dakmor Salvage enters the battlefield, Rampaging Baloths triggers.
- Repeat from step 4.
Combo 18 with Kodama of the East Tree + Sylvan Safekeeper + Rampaging Baloths
Results:
Near-infinite landfall triggers
· Near-infinite creature tokens
· Near-infinite card draw
· Near-infinite draw triggers
· Infinite self-mill
· Near-infinite self-discard triggers
· Near-infinite ETB
Show steps
- Play Dakmor Salvage.
- When Dakmor Salvage enters, Rampaging Baloths and Kodama trigger.
- Resolve the Kodama trigger, choosing to put nothing onto the battlefield.
- Holding priority, activate Sylvan Safekeeper by sacrificing Dakmor Salvage.
- The Gitrog Monster's second ability triggers, causing you to mill two cards and return Dakmor Salvage from your graveyard to your hand.
- If a land was milled this way, The Gitrog Monster's second ability triggers, causing you to draw a card.
- Resolve the Sylvan Safekeeper ability
- Resolve the Rampaging Baloths trigger, creating a token.
- When the token enters the battlefield, Kodama triggers, putting Dakmor Salvage from your hand onto the battlefield.
- When Dakmor Salvage enters the battlefield, Rampaging Baloths triggers.
- Repeat from step 4.
Combo 19 with Seismic Assault
Also requires:
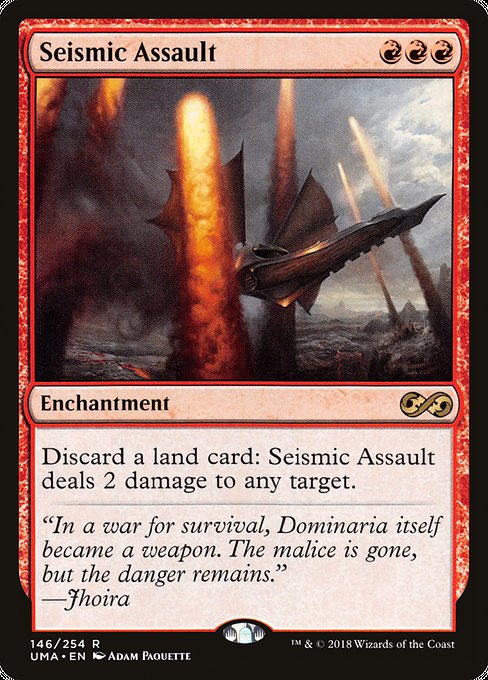 Seismic Assault
Seismic Assault
Results:
Infinite self-mill
· Near-infinite damage
· Near-infinite self-discard triggers
Show steps
- Activate Seismic Assault by discarding Dakmor Salvage.
- The Gitrog Monster's third ability triggers, causing you to mill two cards and return Dakmor Salvage from your graveyard to your hand.
- Resolve the Seismic Assault ability, dealing 2 damage to any target.
- Repeat.
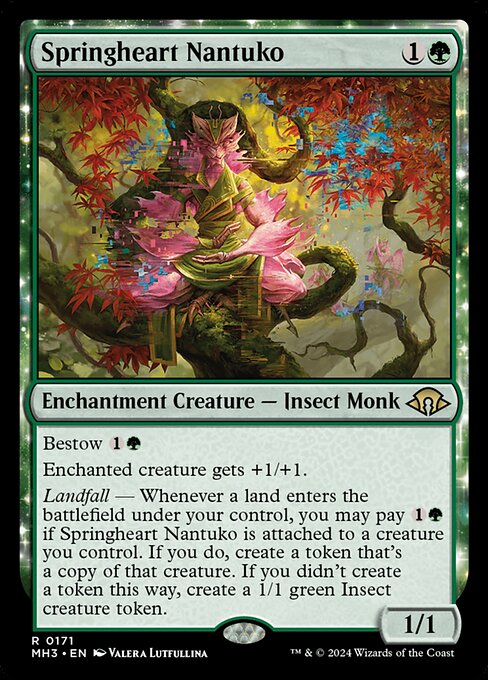
Combo 20 with Kodama of the East Tree + Zuran Orb + Springheart Nantuko
Results:
Near-infinite lifegain
· Near-infinite lifegain triggers
· Near-infinite ETB
· Near-infinite landfall triggers
· Near-infinite creature tokens
· Near-infinite card draw
· Near-infinite draw triggers
· Infinite self-mill
· Near-infinite self-discard triggers
Show steps
- Play Dakmor Salvage.
- When Dakmor Salvage enters, Springheart Nantuko and Kodama trigger.
- Resolve the Kodama trigger, choosing to put nothing onto the battlefield.
- Holding priority, activate Zuran Orb by sacrificing Dakmor Salvage.
- The Gitrog Monster's second ability triggers, causing you to mill two cards and return Dakmor Salvage from your graveyard to your hand.
- If a land was milled this way, The Gitrog Monster's second ability triggers, causing you to draw a card.
- Resolve the Zuran Orb ability
- Resolve the Springheart Nantuko trigger, creating a token.
- When the token enters the battlefield, Kodama triggers, putting Dakmor Salvage from your hand onto the battlefield.
- When Dakmor Salvage enters the battlefield, Springheart Nantuko triggers.
- Repeat from step 4.
Explore These Cards
Buy Dakmor Salvage on TCGPlayer
Buy on Amazon
As an Amazon Associate and TCGPlayer affiliate I earn from qualifying purchases.
Buy The Gitrog Monster on TCGPlayer
Buy on Amazon
As an Amazon Associate and TCGPlayer affiliate I earn from qualifying purchases.