 +
+
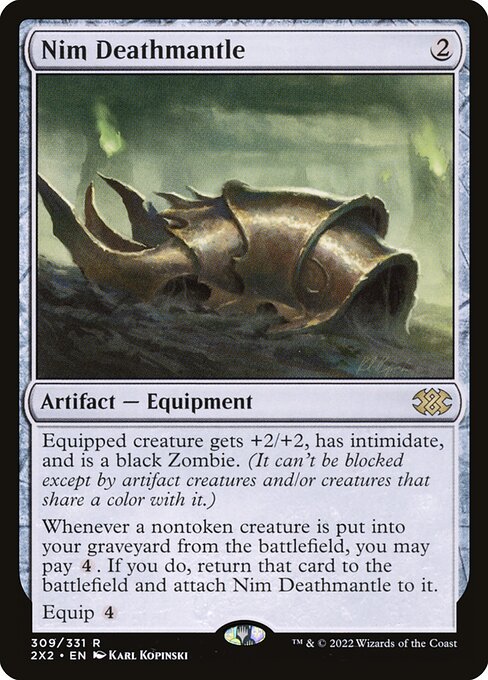
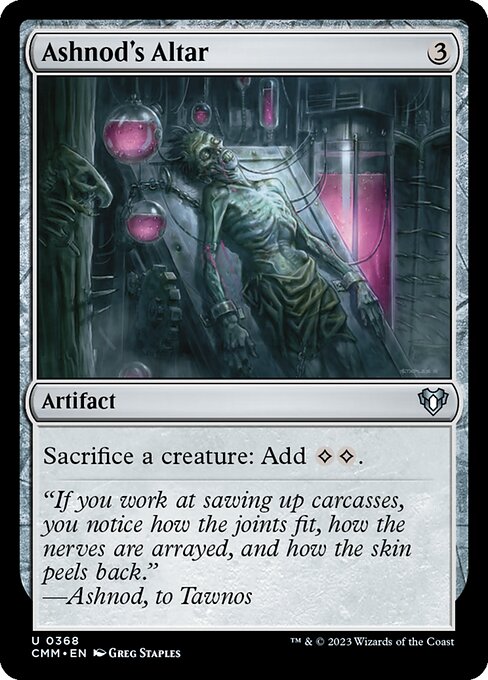
Ashnod's Altar + Nim Deathmantle Combos
20 known combos featuring both cards in Commander
Infinite LTB
Infinite ETB
Infinite sacrifice triggers
Infinite death triggers
Infinite colorless mana
Combo 1
Results:
Infinite LTB
· Infinite ETB
· Infinite sacrifice triggers
· Infinite death triggers
Steps
- Activate Ashnod's Altar by sacrificing the persist or undying creature, adding {C}{C}.
- When the persist or undying creature dies, its persist or undying ability and Nim Deathmantle trigger.
- Resolve the Nim Deathmantle trigger, choosing not to pay.
- Resolve the creature's trigger, returning it from your graveyard to the battlefield with a +1/+1 or -1/-1 counter on it.
- Activate Ashnod's Altar by sacrificing the persist or undying creature, adding {C}{C}.
- When the persist or undying creature dies, Nim Deathmantle triggers, causing you to pay {4} to return the persist or undying creature from your graveyard to the battlefield.
- Repeat.
Combo 2 with Marionette Apprentice
Also requires:
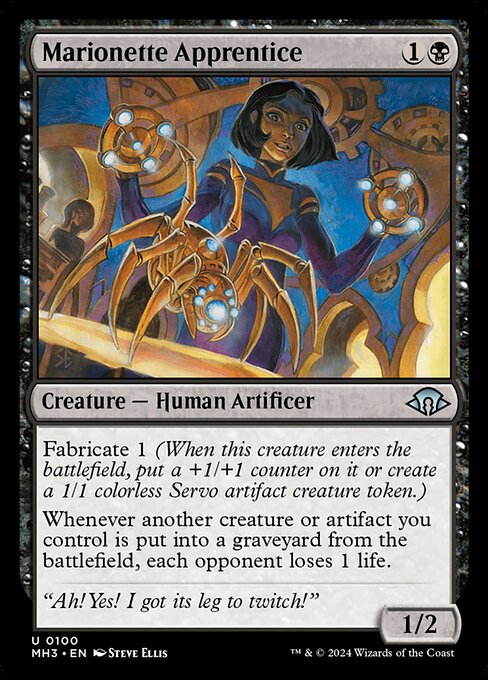 Marionette Apprentice
Marionette Apprentice
Results:
Infinite LTB
· Infinite ETB
· Infinite sacrifice triggers
· Infinite death triggers
· Infinite lifeloss
Show steps
- Activate Ashnod's Altar by sacrificing Marionette Apprentice, adding {C}{C}.
- When Marionette Apprentice dies, Nim Deathmantle triggers, causing you to pay {4} to return Marionette Apprentice from your graveyard to the battlefield and attach Nim Deathmantle to it.
- When Marionette Apprentice enters, it triggers, creating a creature token.
- Activate Ashnod's Altar by sacrificing a creature token, adding {C}{C}.
- When the creature token dies, Marionette Apprentice triggers, causing each opponent to lose 1 life.
- Repeat.
Combo 3 with Breya, Etherium Shaper
Also requires:
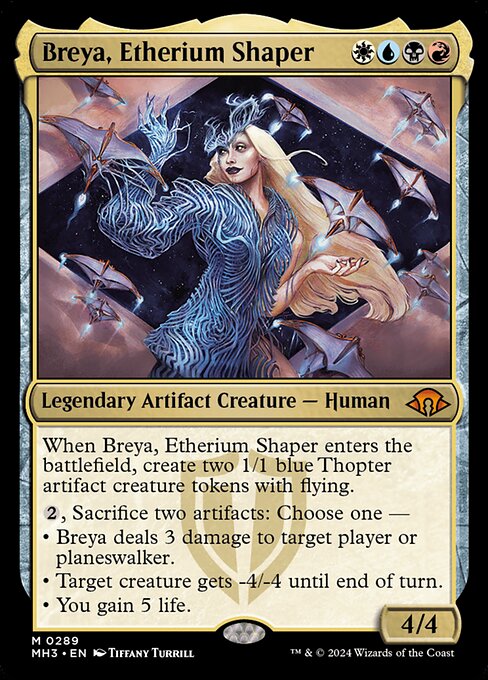 Breya, Etherium Shaper
Breya, Etherium Shaper
Results:
Infinite colorless mana
· Infinite death triggers
· Infinite ETB
· Infinite LTB
· Infinite sacrifice triggers
· Infinite creature tokens
Show steps
- Activate Ashnod's Altar by sacrificing Breya, adding {C}{C}.
- When Breya dies, Nim Deathmantle triggers, causing you to pay {4} to return Breya from your graveyard to the battlefield and attach Nim Deathmantle to it.
- When Breya enters, it triggers, creating two creature tokens.
- Activate Ashnod's Altar by sacrificing a creature token, adding {C}{C}.
- Repeat.
Combo 4 with Marionette Master
Also requires:
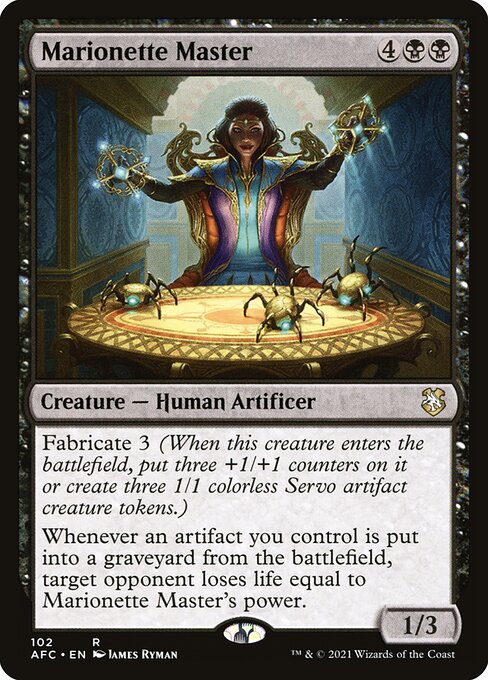 Marionette Master
Marionette Master
Results:
Infinite death triggers
· Infinite ETB
· Infinite LTB
· Infinite sacrifice triggers
· Infinite lifeloss
Show steps
- Activate Ashnod's Altar by sacrificing Marionette Master, adding {C}{C}.
- When Marionette Master dies, Nim Deathmantle triggers, causing you to pay {4} to return Marionette Master from your graveyard to the battlefield and attach Nim Deathmantle to it.
- When Marionette Master enters, it triggers, creating three creature tokens.
- Activate Ashnod's Altar by sacrificing a creature token, adding {C}{C}.
- Repeat.
Combo 5 with Wurmcoil Engine
Also requires:
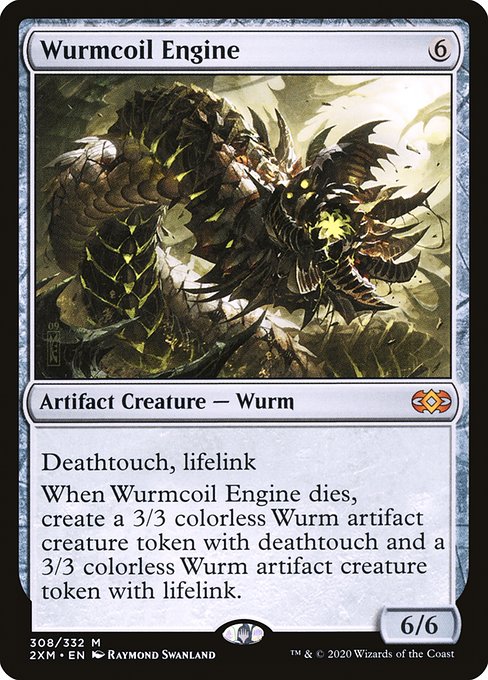 Wurmcoil Engine
Wurmcoil Engine
Results:
Infinite colorless mana
· Infinite creature tokens
· Infinite death triggers
· Infinite ETB
· Infinite LTB
· Infinite sacrifice triggers
Show steps
- Activate Ashnod's Altar by sacrificing Wurmcoil Engine, adding {C}{C}.
- When Wurmcoil Engine dies, it and Nim Deathmantle trigger.
- Resolve the Wurmcoil Engine triggers, creating a 3/3 Wurm token with deathtouch and a 3/3 Wurm token with lifelink.
- Holding priority, activate Krark-Clan Ironworks by sacrificing a Wurm token, adding {C}{C}.
- Resolve the Nim Deathmantle triggers, causing you to pay {4} to return Wurmcoil Engine from your graveyard to the battlefield, and attach Nim Deathmantle to it.
- Repeat.
Combo 6 with Myr Battlesphere
Also requires:
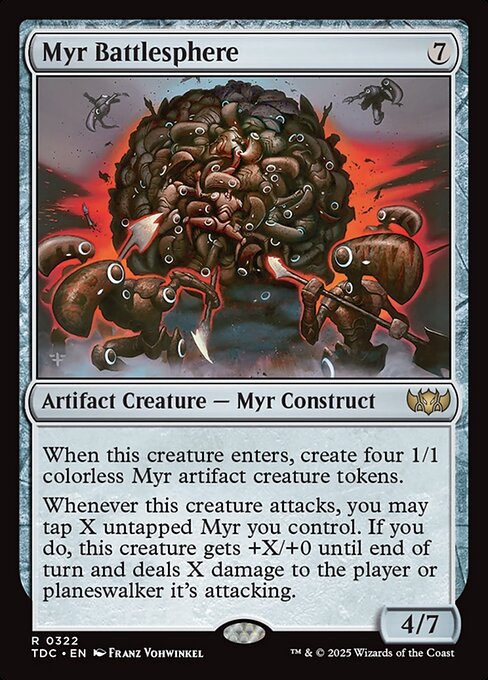 Myr Battlesphere
Myr Battlesphere
Results:
Infinite death triggers
· Infinite ETB
· Infinite LTB
· Infinite sacrifice triggers
Show steps
- Activate Ashnod's Altar by sacrificing Myr Battlesphere, adding {C}{C}.
- When Myr Battlesphere dies, Nim Deathmantle triggers, causing you to pay {4} to return Myr Battlesphere from your graveyard to the battlefield and attach Nim Deathmantle to it.
- When Myr Battlesphere enters, it triggers, creating four artifact creature tokens.
- Activate Ashnod's Altar by sacrificing a creature token, adding {C}{C}.
- Repeat.
Combo 7 with Urza, Lord High Artificer
Also requires:
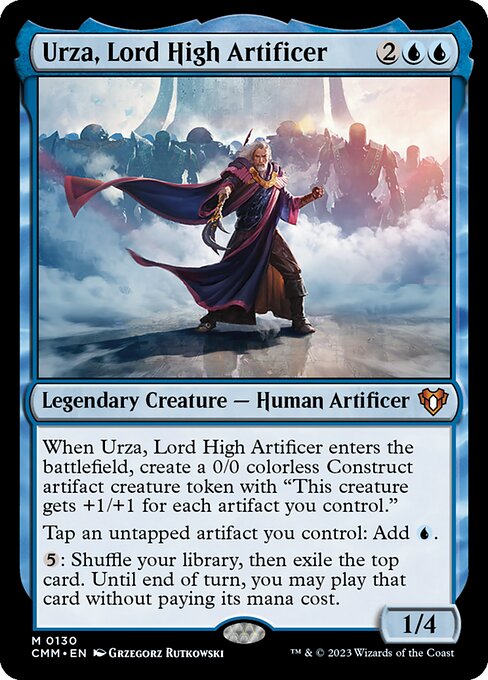 Urza, Lord High Artificer
Urza, Lord High Artificer
Results:
Infinite blue mana
· Infinite colorless mana
· Infinite creature tokens
· Infinite death triggers
· Infinite ETB
· Infinite LTB
· Infinite sacrifice triggers
· Exile your library
· Cast all spells in your library
· Infinite creature tokens that are infinitely large
Show steps
- Activate Ashnod's Altar by sacrificing Urza, adding {C}{C}.
- When Urza dies, Nim Deathmantle triggers, causing you to pay {4} to return Urza from your graveyard to the battlefield and attach Nim Deathmantle to it.
- When Urza enters, it triggers, creating a creature token.
- Activate Ashnod's Altar by sacrificing a creature token, adding {C}{C}.
- Repeat.
Combo 8 with Imotekh the Stormlord
Also requires:
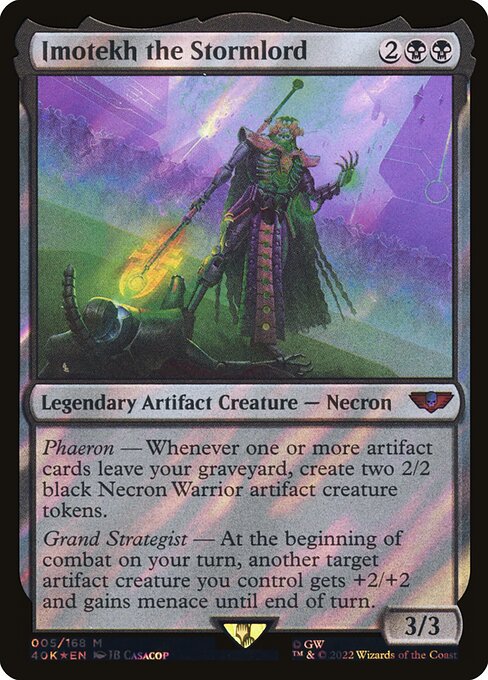 Imotekh the Stormlord
Imotekh the Stormlord
Results:
Infinite colorless mana
· Infinite creature tokens
· Infinite death triggers
· Infinite ETB
· Infinite LTB
· Infinite sacrifice triggers
Show steps
- Activate Ashnod's Altar by sacrificing a nontoken artifact creature, adding {C}{C}.
- The creature dies, triggering Nim Deathmantle, causing you to pay {4} to return the artifact creature from your graveyard to the battlefield, and attach Nim Deathmantle to it.
- Imotekh's first ability triggers, creating two 2/2 Necron Warrior artifact creature tokens.
- Activate Ashnod's Altar by sacrificing a Necron Warrior, adding {C}{C}.
- Repeat.
Combo 9 with Grave Titan
Also requires:
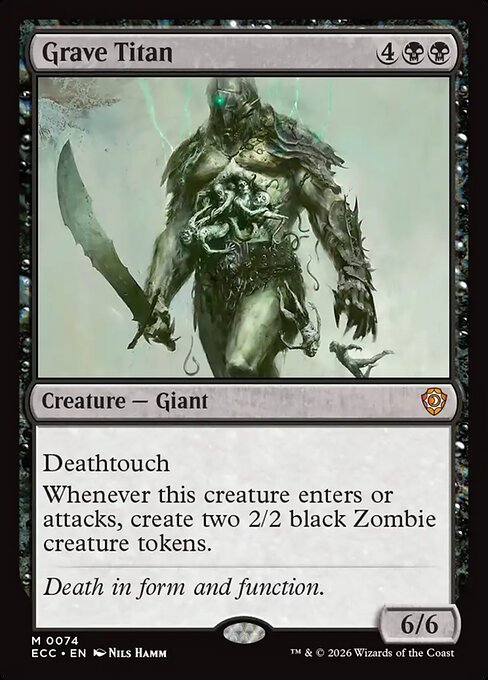 Grave Titan
Grave Titan
Results:
Infinite colorless mana
· Infinite creature tokens
· Infinite death triggers
· Infinite ETB
· Infinite LTB
· Infinite sacrifice triggers
Show steps
- Activate Ashnod's Altar by sacrificing Grave Titan, adding {C}{C}.
- When Grave Titan dies, Nim Deathmantle triggers, causing you to pay {4} to return Grave Titan from your graveyard to the battlefield and attach Nim Deathmantle to it.
- When Grave Titan enters, it triggers, creating two creature tokens.
- Activate Ashnod's Altar by sacrificing a creature token, adding {C}{C}.
- Repeat.
Combo 10 with Orcish Bowmasters
Also requires:
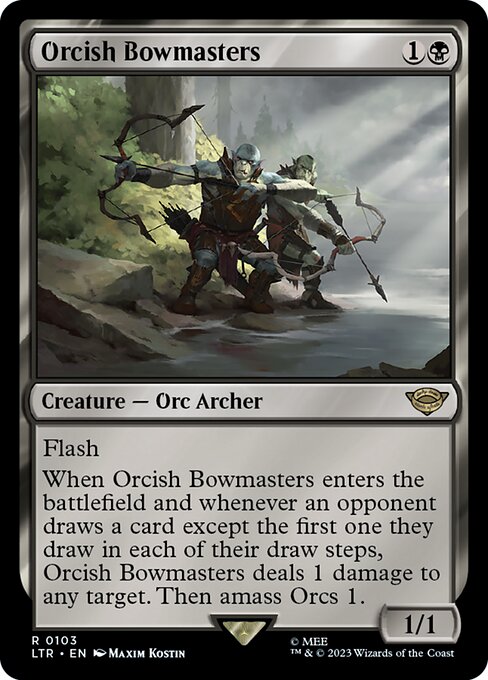 Orcish Bowmasters
Orcish Bowmasters
Results:
Infinite damage
· Infinite death triggers
· Infinite ETB
· Infinite LTB
· Infinite sacrifice triggers
Show steps
- Activate Ashnod's Altar by sacrificing Orcish Bowmasters, adding {C}{C}.
- When Orcish Bowmasters dies, Nim Deathmantle triggers, causing you to pay {4} to return Orcish Bowmasters from your graveyard to the battlefield and attach Nim Deathmantle to it.
- When Orcish Bowmasters enters, it triggers, dealing 1 damage to any target and creating a creature token.
- Activate Ashnod's Altar by sacrificing a creature token, adding {C}{C}.
- Repeat.
Combo 11 with Elenda, the Dusk Rose
Also requires:
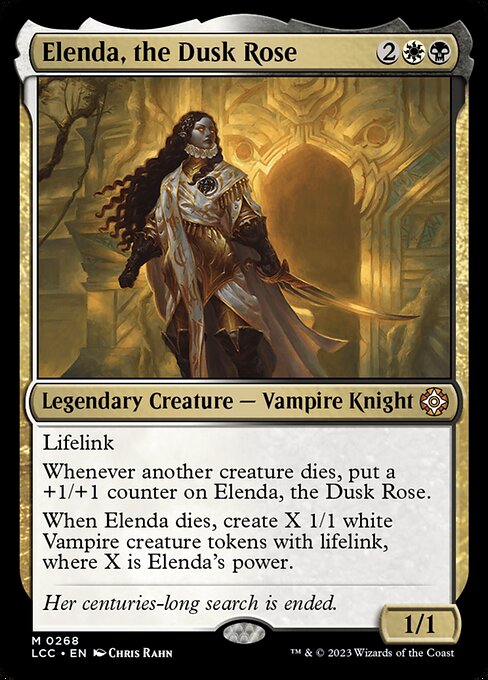 Elenda, the Dusk Rose
Elenda, the Dusk Rose
Results:
Infinite +1/+1 counters on a creature
· Infinite colorless mana
· Infinite creature tokens
· Infinite death triggers
· Infinite ETB
· Infinite LTB
· Infinite sacrifice triggers
Show steps
- Activate Ashnod's Altar by sacrificing Elenda, adding {C}{C}.
- Elenda dies, triggering its second ability and Nim Deathmantle.
- Resolve the Elenda trigger, creating at least one 1/1 Vampire creature token.
- Resolve the Nim Deathmantle trigger, causing you to pay {4} to return Elenda from your graveyard to the battlefield, and attach Nim Deathmantle to it.
- Activate Ashnod's Altar by sacrificing a Vampire token, adding {C}{C}.
- The Vampire dies, triggering Elenda's first ability, putting a +1/+1 counter on Elenda.
- Repeat.
Combo 12 with Woe Strider
Also requires:
 Woe Strider
Woe Strider
Results:
Infinite death triggers
· Infinite ETB
· Infinite LTB
· Infinite sacrifice triggers
Show steps
- Activate Ashnod's Altar by sacrificing Woe Strider, adding {C}{C}.
- When Woe Strider dies, Nim Deathmantle triggers, causing you to pay {4} to return Woe Strider from your graveyard to the battlefield and attach Nim Deathmantle to it.
- When Woe Strider enters, it triggers, creating a creature token.
- Activate Ashnod's Altar by sacrificing a creature token, adding {C}{C}.
- Repeat.
Combo 13 with Priest of Gix
Also requires:
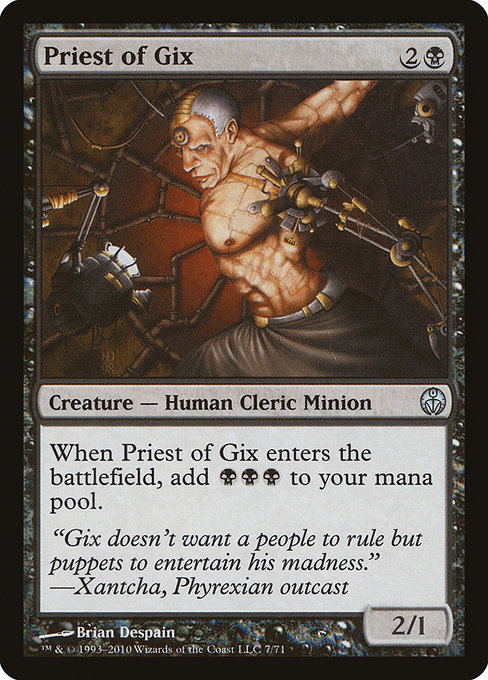 Priest of Gix
Priest of Gix
Results:
Infinite black mana
· Infinite colorless mana
· Infinite death triggers
· Infinite ETB
· Infinite LTB
· Infinite sacrifice triggers
Show steps
- Activate Ashnod's Altar by sacrificing Priest of Gix adding {C}{C}.
- Priest of Gix dies, triggering Nim Deathmantle, causing you to pay {4} to return Priest of Gix from your graveyard to the battlefield, and attach Nim Deathmantle to it.
- Priest of Gix enters the battlefield, adding {B}{B}{B}.
- Repeat.
Combo 14 with Ogre Slumlord
Also requires:
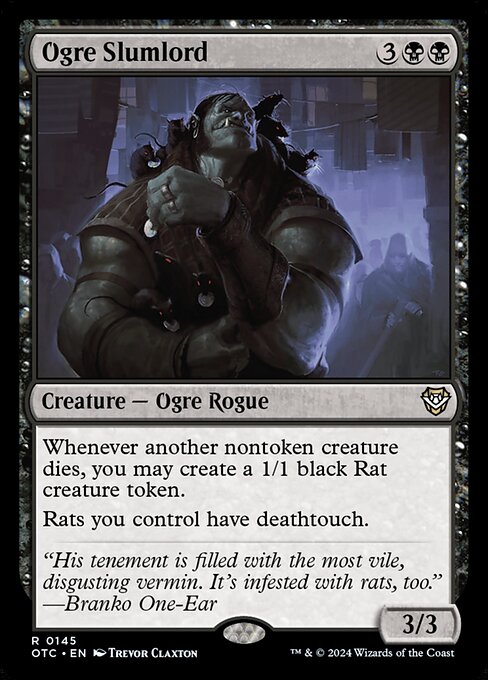 Ogre Slumlord
Ogre Slumlord
Results:
Infinite death triggers
· Infinite ETB
· Infinite LTB
· Infinite sacrifice triggers
Show steps
- Activate Ashnod's Altar by sacrificing another creature, adding {C}{C}.
- The creature dies, triggering Ogre Slumlord and Nim Deathmantle.
- Resolve the Ogre Slumlord trigger, creating a 1/1 Rat creature token.
- Activate Ashnod's Altar by sacrificing the Rat, adding {C}{C}.
- Resolve the Nim Deathmantle trigger from step 2, causing you to pay {4} to return the creature from your graveyard to the battlefield, and attach Nim Deathmantle to it.
- Repeat.
Combo 15 with Headless Rider
Also requires:
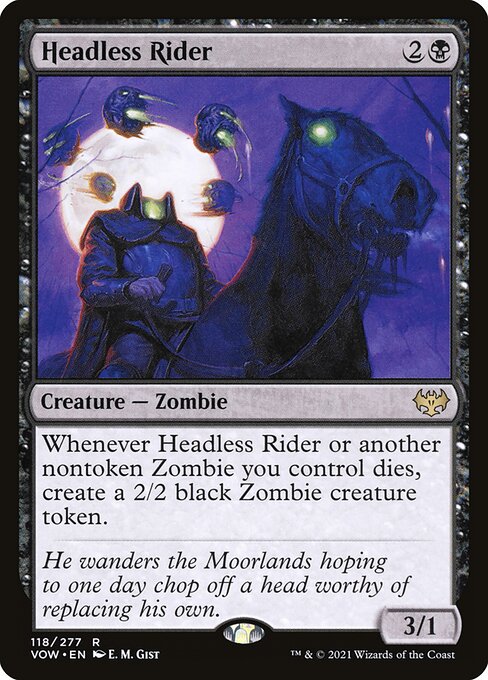 Headless Rider
Headless Rider
Results:
Infinite death triggers
· Infinite ETB
· Infinite LTB
· Infinite sacrifice triggers
Show steps
- Activate Ashnod's Altar by sacrificing Headless Rider, adding {C}{C}.
- When Headless Rider dies, it and Nim Deathmantle trigger,
- Resolve the Headless Rider trigger, creating a creature token.
- Holding priority, activate Ashnod's Altar by sacrificing a creature token, adding {C}{C}.
- Resolve the Nim Deathmantle trigger, causing you to pay {4} to return Headless Rider from your graveyard to the battlefield and attach Nim Deathmantle to it.
- Repeat.
Combo 16 with Cathodion
Also requires:
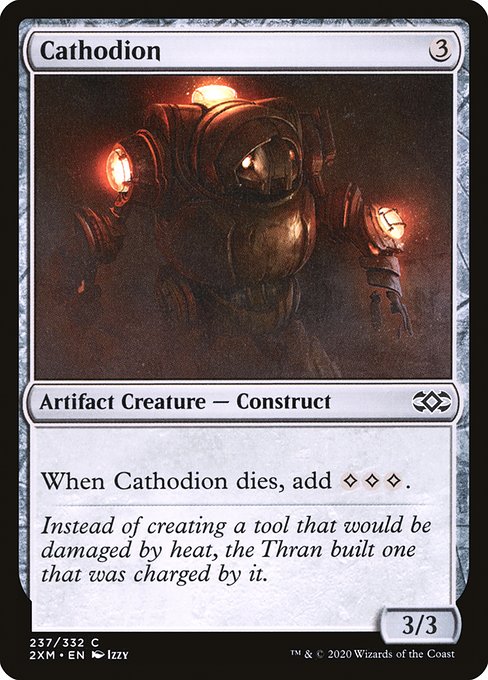 Cathodion
Cathodion
Results:
Infinite colorless mana
· Infinite death triggers
· Infinite ETB
· Infinite LTB
· Infinite sacrifice triggers
Show steps
- Activate Ashnod's Altar by sacrificing Cathodion, adding {C}{C}.
- Cathodion and Nim Deathmantle trigger.
- Resolve the Cathodion trigger, adding {C}{C}{C}.
- Resolve the Nim Deathmantle trigger, causing you to pay {4} to return Cathodion from your graveyard to the battlefield, and then attach Nim Deathmantle to it.
- Repeat.
Combo 17 with Phyrexian Triniform
Also requires:
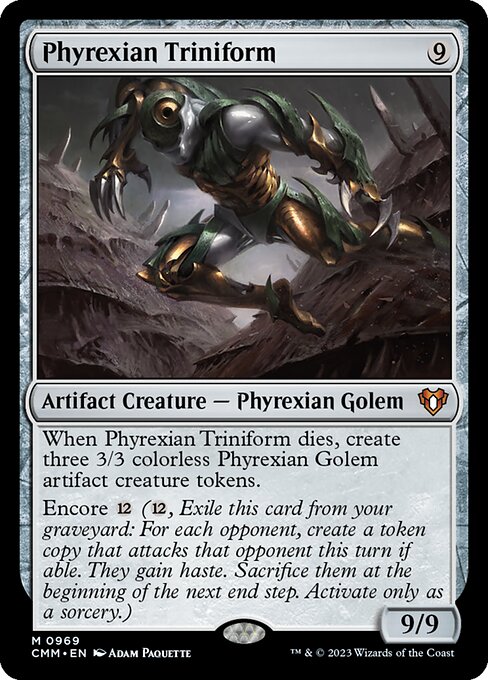 Phyrexian Triniform
Phyrexian Triniform
Results:
Infinite colorless mana
· Infinite creature tokens
· Infinite death triggers
· Infinite ETB
· Infinite LTB
· Infinite sacrifice triggers
Show steps
- Activate Ashnod's Altar by sacrificing Phyrexian Triniform, adding {C}{C}.
- When Phyrexian Triniform dies, it and Nim Deathmantle trigger,
- Resolve the Phyrexian Triniform trigger, creating three creature tokens.
- Holding priority, activate Ashnod's Altar by sacrificing a creature token, adding {C}{C}.
- Resolve the Nim Deathmantle trigger, causing you to pay {4} to return Phyrexian Triniform from your graveyard to the battlefield and attach Nim Deathmantle to it.
- Repeat.
Combo 18 with Triplicate Titan
Also requires:
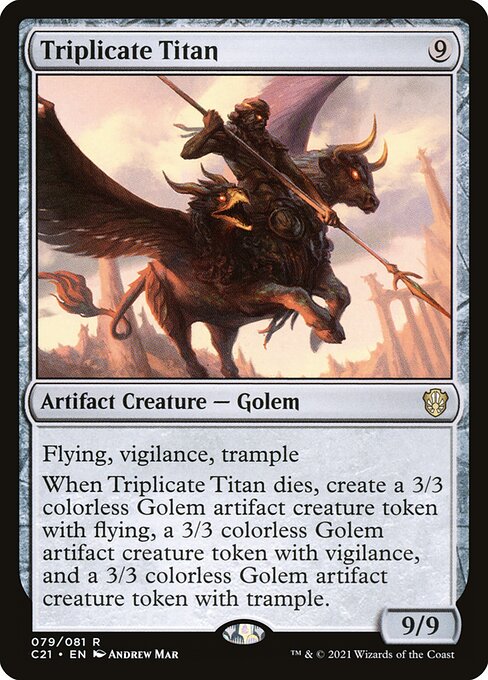 Triplicate Titan
Triplicate Titan
Results:
Infinite colorless mana
· Infinite creature tokens
· Infinite death triggers
· Infinite ETB
· Infinite LTB
· Infinite sacrifice triggers
Show steps
- Activate Ashnod's Altar by sacrificing Triplicate Titan, adding {C}{C}.
- When Triplicate Titan dies, it and Nim Deathmantle trigger,
- Resolve the Triplicate Titan trigger, creating three creature tokens.
- Holding priority, activate Ashnod's Altar by sacrificing a creature token, adding {C}{C}.
- Resolve the Nim Deathmantle trigger, causing you to pay {4} to return Triplicate Titan from your graveyard to the battlefield and attach Nim Deathmantle to it.
- Repeat.
Combo 19 with Chittering Witch
Also requires:
 Chittering Witch
Chittering Witch
Results:
Infinite death triggers
· Infinite ETB
· Infinite LTB
· Infinite sacrifice triggers
Show steps
- Activate Ashnod's Altar by sacrificing Chittering Witch, adding {C}{C}.
- When Chittering Witch dies, Nim Deathmantle triggers, causing you to pay {4} to return Chittering Witch from your graveyard to the battlefield and attach Nim Deathmantle to it.
- When Chittering Witch enters, it triggers, creating at least one creature token.
- Activate Ashnod's Altar by sacrificing a creature token, adding {C}{C}.
- Repeat.
Combo 20 with Rendmaw, Creaking Nest
Also requires:
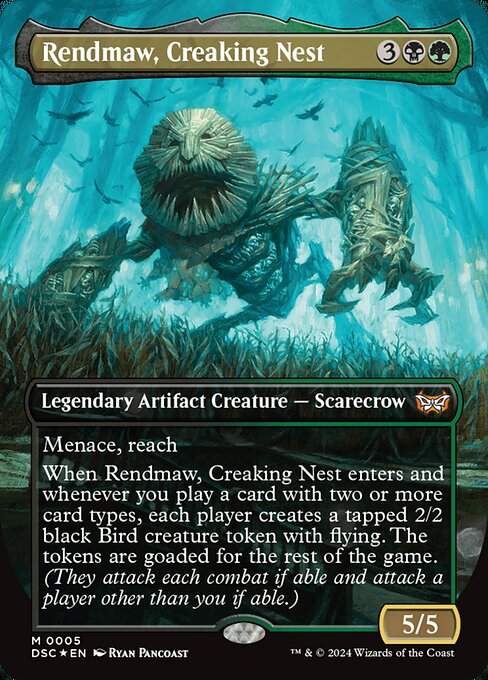 Rendmaw, Creaking Nest
Rendmaw, Creaking Nest
Results:
Infinite LTB
· Infinite ETB
· Infinite sacrifice triggers
· Infinite death triggers
· Infinite ETB for opponents
· Infinite tapped creature tokens for opponents
Show steps
- Activate Ashnod's Altar by sacrificing Rendmaw, adding {C}{C}.
- When Rendmaw dies, Nim Deathmantle triggers, causing you to pay {4} to return Rendmaw from your graveyard to the battlefield, and attach Nim Deathmantle to it.
- When Rendmaw enters the battlefield, it triggers, causing each player to create a tapped 2/2 Bird creature token.
- Activate Ashnod's Altar by sacrificing the Bird, adding {C}{C}.
- Repeat.
Explore These Cards
Buy Ashnod's Altar on TCGPlayer
Buy on Amazon
As an Amazon Associate and TCGPlayer affiliate I earn from qualifying purchases.
Buy Nim Deathmantle on TCGPlayer
Buy on Amazon
As an Amazon Associate and TCGPlayer affiliate I earn from qualifying purchases.